
There's nothing quite like the simple pleasure of enjoying corn on the cob during a warm summer evening. This recipe is quick, easy, and brings out the natural sweetness of the corn. Perfect for a family gathering or a casual barbecue, this dish will surely be a hit with everyone.
The ingredients for this recipe are quite straightforward. You will need corn, which is typically available in most supermarkets, especially during the summer months. Butter and salt are common pantry items, but make sure to pick up fresh corn for the best flavor.
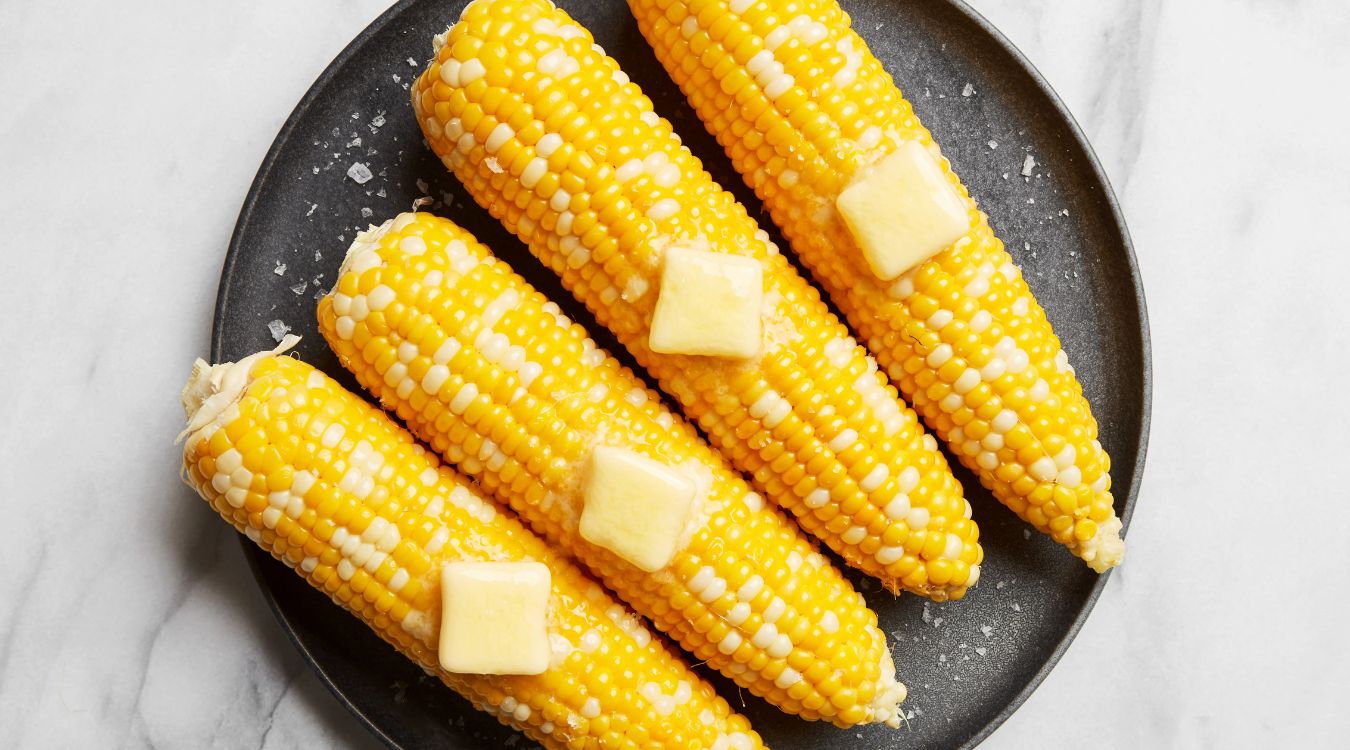
Ingredients for Corn on the Cob Recipe
Corn: Fresh ears of corn are the star of this dish. Look for ears with bright green husks and plump kernels.
Butter: Butter adds a rich, creamy flavor to the corn. Melt it before brushing it onto the corn.
Salt: A sprinkle of salt enhances the natural sweetness of the corn and adds a bit of savory contrast.
Technique Tip for This Recipe
When boiling corn, add a tablespoon of sugar to the water. This enhances the natural sweetness of the corn and gives it a more vibrant flavor.
Suggested Side Dishes
Alternative Ingredients
4 ears husked corn - Substitute with frozen corn kernels: If fresh corn is not available, frozen corn kernels can be a convenient alternative. They are already prepped and can be cooked quickly.
4 ears husked corn - Substitute with baby corn: Baby corn offers a different texture and flavor but can be a unique twist to the recipe.
2 tablespoon melted butter - Substitute with olive oil: Olive oil provides a healthier fat option and adds a different but pleasant flavor.
2 tablespoon melted butter - Substitute with coconut oil: Coconut oil can add a subtle sweetness and is a good alternative for those avoiding dairy.
1 teaspoon salt - Substitute with soy sauce: Soy sauce can add a depth of flavor and umami, though it will also add a bit of moisture.
1 teaspoon salt - Substitute with sea salt: Sea salt can offer a different mineral content and a slightly different flavor profile.
Other Alternative Recipes Similar to This Dish
How to Store or Freeze This Dish
- Allow the corn to cool completely after cooking. This prevents condensation, which can make the corn soggy.
- Wrap each ear of corn tightly in plastic wrap or aluminum foil. This helps to lock in the moisture and flavor.
- Place the wrapped corn in an airtight container or zip-top bag. This provides an extra layer of protection against freezer burn.
- Label the container or bag with the date. This ensures you use the corn while it's at its best quality.
- Store the corn in the refrigerator if you plan to eat it within 3-5 days. This keeps it fresh and ready to reheat.
- For longer storage, place the corn in the freezer. Frozen corn can last up to 8 months, maintaining its taste and texture.
- To reheat, remove the corn from the wrapping and place it in a microwave-safe dish. Cover with a damp paper towel and microwave on high for 1-2 minutes.
- Alternatively, reheat the corn in a preheated oven at 350°F (175°C) for about 10 minutes. This method helps to retain the corn's natural sweetness and crunch.
- If you prefer, you can also reheat the corn by steaming it for 3-5 minutes. This is a gentle method that preserves the corn's tenderness.
How to Reheat Leftovers
Microwave Method:
- Wrap each ear of corn in a damp paper towel.
- Place the wrapped corn on a microwave-safe plate.
- Microwave on high for 1-2 minutes, checking for desired warmth.
- Carefully unwrap and enjoy your reheated corn on the cob.
Oven Method:
- Preheat your oven to 350°F (175°C).
- Wrap each ear of corn in aluminum foil.
- Place the wrapped corn on a baking sheet.
- Bake for 10-15 minutes until heated through.
- Unwrap and savor the warm, buttery corn.
Stovetop Method:
- Fill a large skillet with about 1 inch of water.
- Bring the water to a simmer over medium heat.
- Place the corn on the cob in the skillet.
- Cover and steam for 3-5 minutes, turning occasionally.
- Remove and serve hot, with an extra brush of melted butter if desired.
Grill Method:
- Preheat your grill to medium heat.
- Brush the corn on the cob with a bit of melted butter.
- Place the corn directly on the grill grates.
- Grill for 5-7 minutes, turning occasionally, until heated through and slightly charred.
- Remove from the grill and enjoy the smoky, reheated corn.
Best Tools for This Recipe
Large pot: A large pot is essential for boiling the water needed to cook the corn.
Tongs: Tongs are used to safely remove the hot corn from the boiling water.
Basting brush: A basting brush is used to evenly apply the melted butter onto the corn.
Measuring spoons: Measuring spoons are used to measure out the salt and melted butter accurately.
Stove: A stove is needed to heat the pot of water to a boil.
Serving platter: A serving platter is used to present the corn once it has been cooked and seasoned.
How to Save Time on Making This Recipe
Pre-boil the water: Start boiling the water while you prepare the corn to save time.
Use a timer: Set a timer for 5-7 minutes to ensure the corn is cooked perfectly without constant checking.
Melt butter in advance: Melt the butter while the corn is cooking to streamline the process.
Prep in batches: If making more than 4 ears, cook in batches to avoid overcrowding the pot and ensure even cooking.
Use tongs: Have tongs ready to quickly remove the corn from the pot without fumbling.
Corn on the Cob Recipe
Ingredients
Main Ingredients
- 4 ears corn husked
- 2 tablespoon butter melted
- 1 teaspoon salt
Instructions
- 1. Bring a large pot of water to a boil.
- 2. Add the corn and cook for 5-7 minutes until tender.
- 3. Remove the corn using tongs and brush with melted butter.
- 4. Sprinkle with salt and serve immediately.
Nutritional Value
Keywords
More Amazing Recipes to Try 🙂
- Vegan Chow Mein Recipe30 Minutes
- Strawberry Daiquiri Recipe10 Minutes
- Vegan Banh Mi Recipe30 Minutes
- Vegan Quinoa Stuffed Peppers Recipe50 Minutes
- Classic Old-Fashioned Recipe5 Minutes
- Vegan Chili Lime Jackfruit Tacos Recipe35 Minutes
- Vegan Burritos Recipe35 Minutes
- Mai Tai Recipe5 Minutes
Leave a Reply